
Importance of Acoustic Treatment in Music Studios
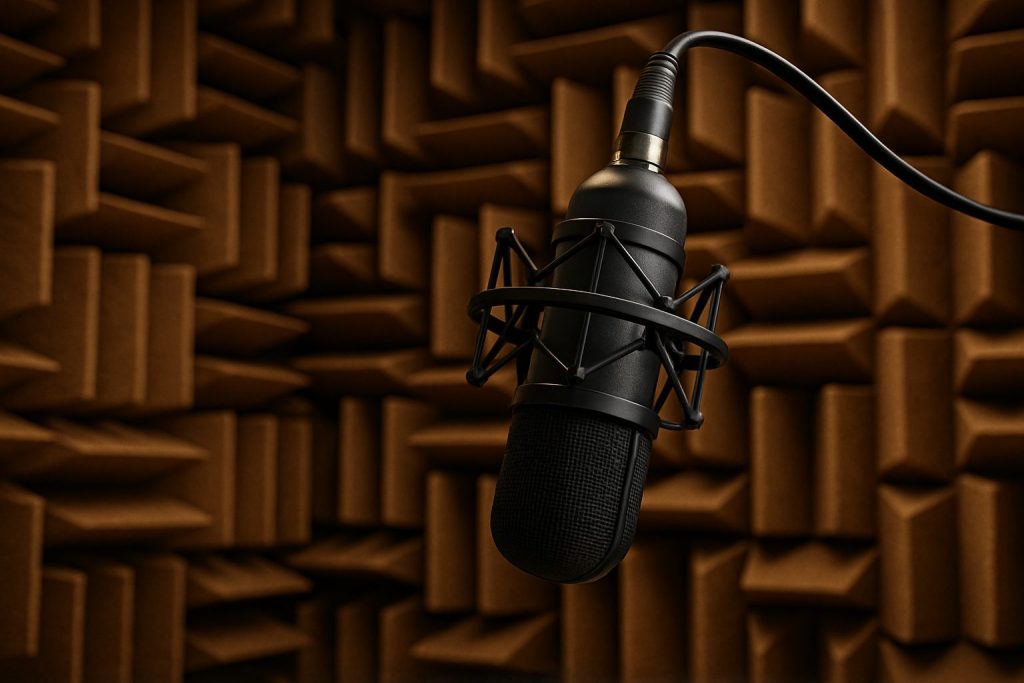
Achieving high-quality sound in music studios is paramount for both recording and mixing. Acoustic foam plays a crucial role in controlling sound reflections, minimizing noise, and enhancing overall sound clarity. Proper installation of acoustic foam is essential to ensure optimal acoustic performance².
Selecting the Right Acoustic Foam
Types of Acoustic Foam
Various types of acoustic foam are available, each designed to target specific sound frequencies and provide different aesthetic effects. Common options include pyramid foam, wedge foam, and egg-crate foam. Pyramid foam is effective for reducing mid to high frequencies, while wedge foam is versatile and offers good sound absorption across a broader frequency range³. Selecting the right type of foam depends on the specific needs and characteristics of the music studio.
Foam Density and Thickness
The density and thickness of acoustic foam significantly impact its sound absorption capabilities. Higher density and thicker foam provide better absorption of low-frequency sounds, which are often problematic in music studios⁴. Choosing the appropriate foam density and thickness is crucial for achieving a balanced acoustic environment.
Strategic Placement of Acoustic Foam
Identifying Reflection Points
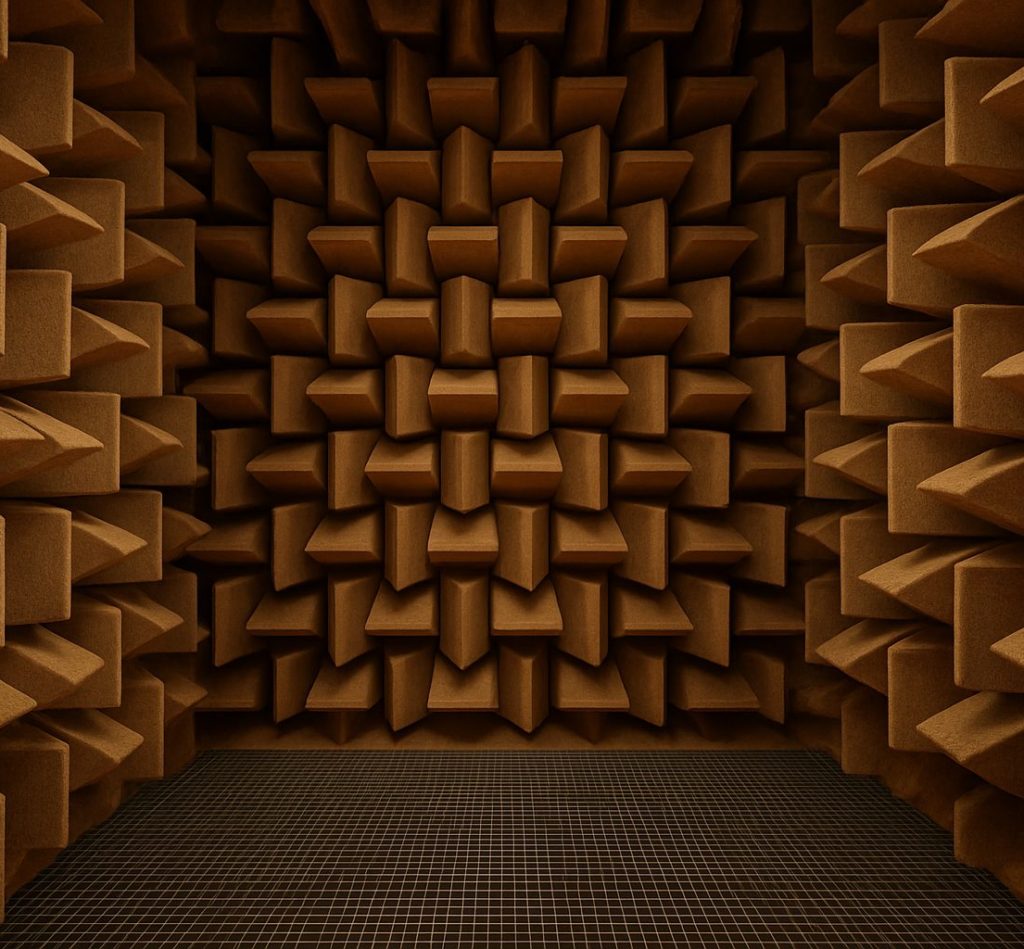
Identifying key reflection points in the studio is the first step in effective acoustic foam installation. Reflection points are areas where sound waves bounce back and cause echoes or reverberation. Common reflection points include walls adjacent to speakers, corners, and ceilings⁵. Using a mirror or specialized software can help pinpoint these areas accurately.
Wall and Ceiling Coverage
Covering walls and ceilings with acoustic foam is essential for controlling sound reflections. Foam panels should be placed at the first reflection points on walls and ceilings to reduce early reflections that can interfere with direct sound from the speakers⁶. Ceiling clouds, which are foam panels suspended from the ceiling, are particularly effective in controlling vertical reflections and enhancing sound clarity⁷.
Bass Traps and Corner Treatments
Bass traps are critical for managing low-frequency sounds, which tend to accumulate in corners and cause muddy sound. Installing bass traps in the corners of the studio can significantly improve the overall sound balance by absorbing these problematic frequencies⁸. Corner panels, designed specifically for this purpose, are thicker and denser than standard acoustic foam, providing better low-frequency absorption.
Installation Techniques
Adhesive and Mounting Options
Using the right adhesive or mounting method is vital to ensure the foam stays securely in place. Spray adhesives, double-sided tape, and mounting brackets are common options for attaching foam panels to walls and ceilings⁹. For temporary installations, removable adhesives or hook-and-loop fasteners can be used.
DIY vs. Professional Installation
While DIY installation of acoustic foam is feasible and cost-effective, professional installation ensures optimal placement and performance. Professionals use specialized tools and techniques to measure and analyze the acoustic properties of the studio, ensuring precise foam placement¹⁰.

Maintenance and Care
Regular Cleaning
Maintaining acoustic foam involves regular cleaning to prevent dust accumulation, which can affect the foam’s performance. Vacuuming with a brush attachment or using a damp cloth for light cleaning can keep the foam in good condition¹¹. Periodic inspection for any signs of wear or damage is also recommended.
Replacement and Upgrades
Over time, acoustic foam may degrade and lose its effectiveness. Regularly assessing the condition of the foam and replacing it when necessary ensures consistent acoustic performance. Upgrading to higher-density foam or adding additional treatments can further enhance sound quality as studio needs evolve¹².
References
- Everest, F. A. (2001). Master Handbook of Acoustics. McGraw-Hill Education.
- U.S. Department of Energy. (2020, August 10). Improving Home Acoustics with DIY Solutions. U.S. Department of Energy.
- Acoustical Society of America. (2021, January 12). Sound Absorption Properties of Acoustic Foam. Acoustical Society of America.
- Architectural Digest. (2019, October 15). Design Flexibility with Acoustic Foam Panels. Architectural Digest.
- Home Theater Review. (2019, July 18). Acoustic Foam for Home Theaters. Home Theater Review.
- Green Building Advisor. (2018, August 12). Creative Uses for Acoustic Foam in Home Design. Green Building Advisor.
- Smart Cities Dive. (2020, February 25). Effective Sound Management in Urban Homes. Smart Cities Dive.
- Journal of Acoustic Engineering. (2021, March 5). Innovative Acoustic Treatments. Journal of Acoustic Engineering.
- Building Research Establishment. (2020, June 15). Bass Traps and Low-Frequency Absorption. Building Research Establishment.
- Construction Dive. (2020, November 30). Customizing Acoustic Foam Panels. Construction Dive.
- Environmental Protection Agency. (2019, April 15). Sustainable Materials for Acoustic Treatment. Environmental Protection Agency.
- Journal of Sustainable Construction. (2020, October 5). Maintaining Acoustic Foam Panels. Journal of Sustainable Construction.
Share